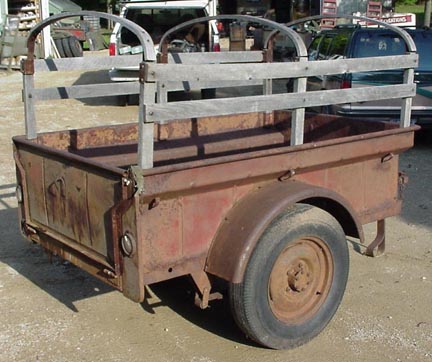
Bantam T3-C
Bows and Side Racks
BANTAM TC-3
TOP BOWS, SIDE RACK & METAL TOP BRACKETS
courtesy Gary Johnson
DISCLAIMER:
The following information is gathered from measurements taken from my totally original Bantam TC-3 trailer, SN 19918. I feel my trailer was built in 1955, so obviously trailers built before or after mine could have slightly different measurements. Good Luck!!
Note: All the wood used in this assembly is Oak, all hardware is plated
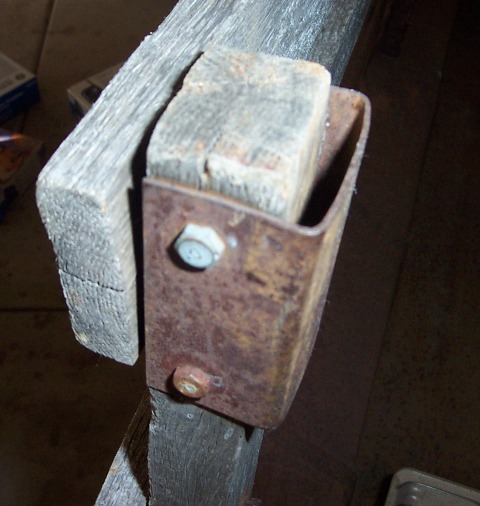
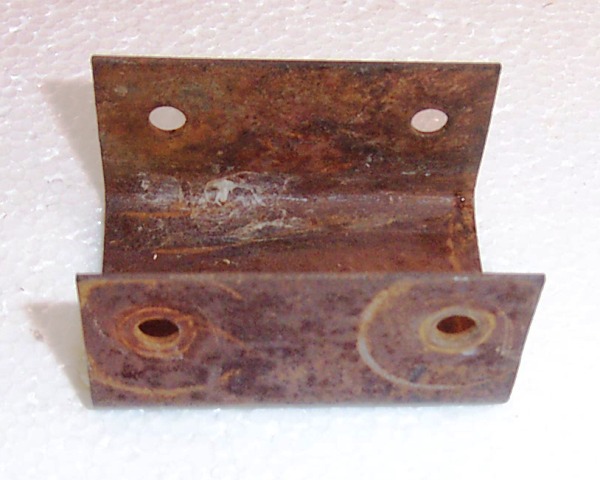
SIDE BRACKETS
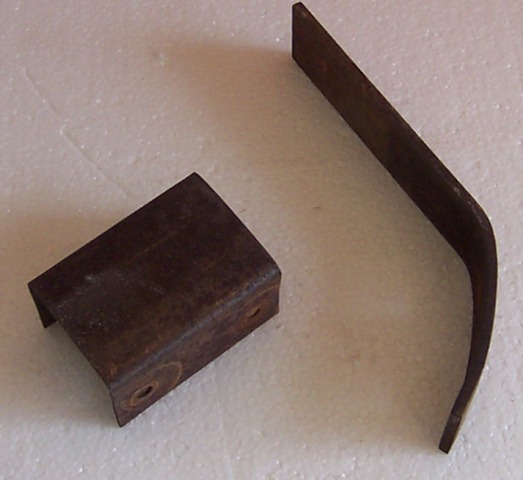
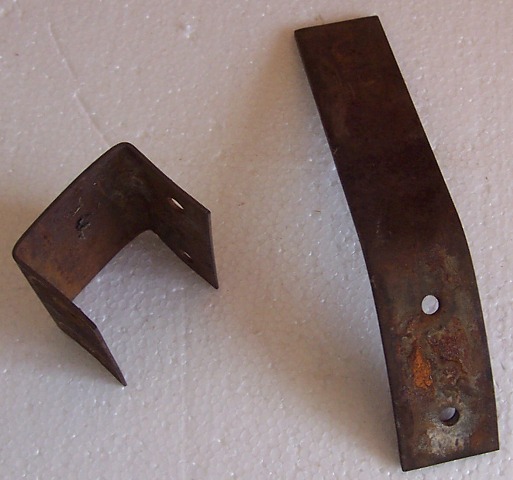
There are six (6) three-sided brackets that mount one (1) at the top of each of the three (3) vertical side posts. The brackets mount on the inside of the vertical posts towards the inside of the trailer. These brackets are made from flat 1/16” thick metal stock cut into a flat 3” X 5-1/8” rectangular piece. When completed, each side of the bracket should measure 3” x 1-1/2” and the face of the bracket will be 3” x 2” leaving the extra 1/8” consumed by the bends.
The holes for the bolts are drilled on the 1-1/2” side of the bracket with a 17/64th bit and the holes are 2” center to center. The holes should be centered ¾” from the short edge of the bracket and ½” from the long edge of the bracket. Of course this would be repeated on each side of the bracket and after bending, the holes should line up.
After the holes are drilled in the flat stock, make a mark 1-1/2” from the short end of each end of the flat stock. Place the 1-1/2” flat stock in a vise and gently bend the stock until you are at 90 degrees. Repeat this step with the other end of the stock and the bracket is complete.
Each three-sided bracket will be mounted to the vertical posts with two (2) ¼” x 2-1/2” bolts having a 3/8” hex head. The bolts are secured with a square nut and a flat washer. The flat washers are ¾” on the outside with a 5/16” hole.
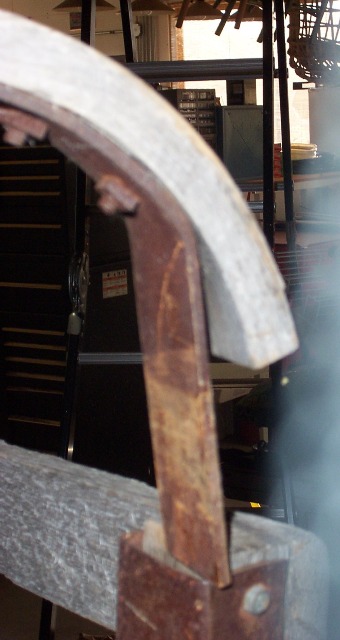
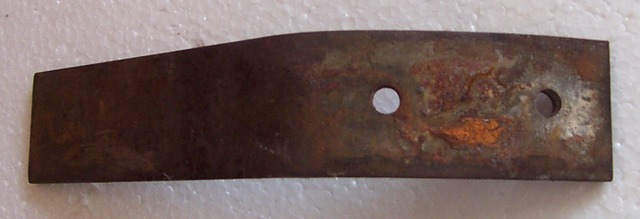
There are six (6) top bow brackets, one on each end of the three (3) steam bent top bows. Start with 3/16” thick by 1-7/16” wide metal strap stock. Cut each bracket 8-3/16” long. Using a 17/64th bit, drill two holes 1-5/8th center to center beginning ¾” from one end of the flat strap. Then, beginning at the opposite end of the strap where the holes are, measure 4-3/4” and mark the spot where the curve will begin. (the bolt holes will be in the curve) the curve of the strap should be a gentle bend. Using a square, bend the bracket until the overall length of the bracket is 7-1/8” and the depth of the bracket is 2-3/8”.
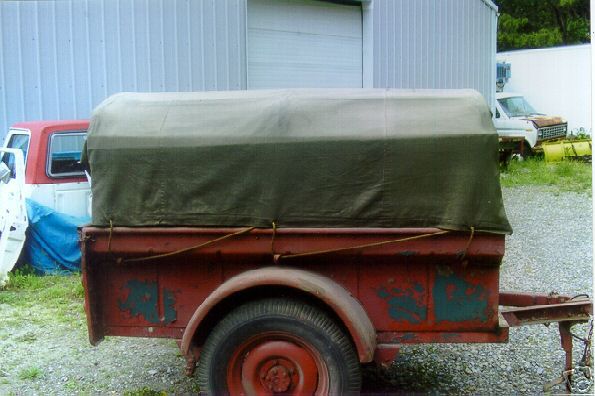
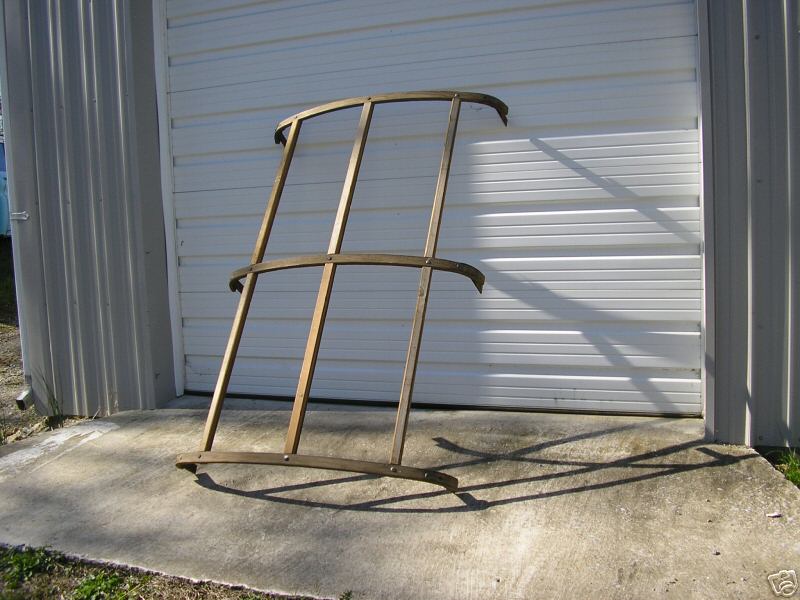
There are three (3) curved top bows made from ¾” x 1-5/8” oak strips cut to 52” long. They need to be steam-bent. While I know how to steam bend, I will not suggest you do this, as there are some dangers associated with attempting to do this at home. I believe there is someone already supplying wood kits for these trailers.
My curved bows have the following dimensions after bending: 47” outside tip to outside tip after bending. The inside dimension tip to tip is 45-3/4”. Putting a straight edge on the bottom of the bow with the curve up, I have 7” from the straight edge to the (top) of the bow, not the inside, which would be 6-1/4”. 12” in from the end of my bows, the top edge of the bow is 6-1/8” from the straight edge and at 5” from the end, the top of the bow is 4-1/2” from the straight edge.
The Top Brackets are mounted to the steam bent bow with center of the first hole being 2-1/2” from the straight edge. Caution: This is not 2-1/2” from the end of the wood it is from a straight edge placed across the bottom of the entire length of the bow. The holes in the wood would be 1-5/8” center to center on the inside of the bow and 1-7/8” center to center on the outside of the bow to accommodate for the curve.
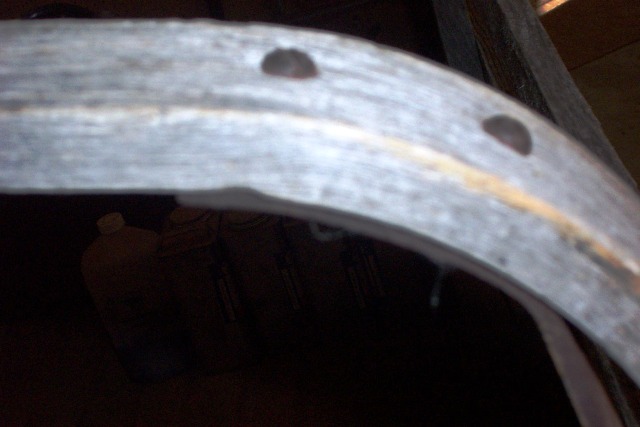
The top bow brackets are secured to the top bow with ¼” x 1-1/4” stove bolts and square nuts with no washers. The slotted end of the stove bolt is pushed through the top of the oak bow and the square nut goes on the metal bracket side of the bow. Caution!! If the stove bolt screw slot is damaged, it may wear on your tarp. At the very least, you will want to draw the stove bolts as tight as possible and make sure there are no sharp edges to save wear and tear on your tarp.
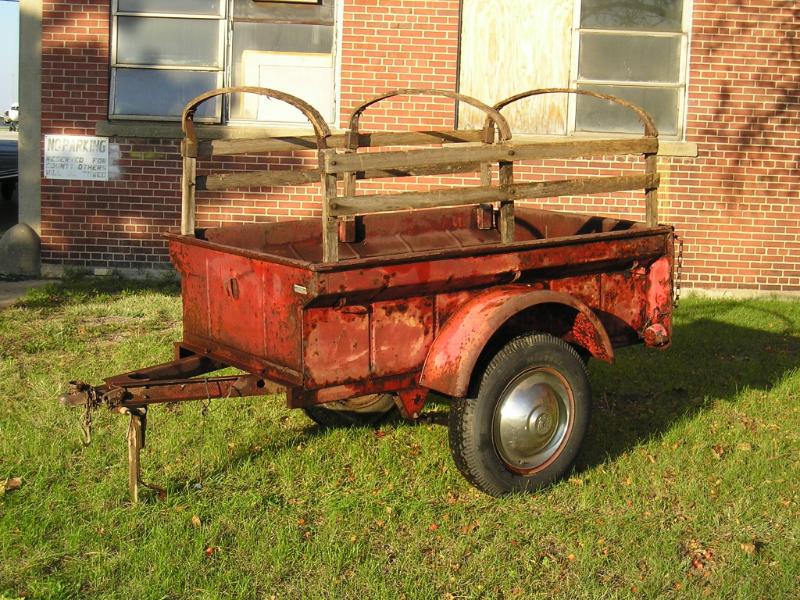
SIDE RACK:
Left and right side racks are identical, interchangeable and can be used with or without out the top bows. The 6 (six) vertical posts are oak that is cut to 2” x 1-1/4” x 20-1/2”. The 4 (four) horizontal pieces are oak cut to 5/8” x 2-1/2” x 68”.
Using a 17/64 drill bit, you want to drill a hole through the center on the 2-1/2” side of the horizontal boards 1” from each end of the board and an additional hole in the center of each board repeating these steps for each of the horizontal boards.
Using a 17/64 drill bit, you want to drill a hole through the center on the 2” side of the vertical posts 1-1/4” from one end of the board. Then measure down 6” center to center and drill a second hole repeating these step in each of the vertical boards. Then, you need to drill using a 7/8” countersink bit, a countersink hole over the pre-drilled hole on one side only, on the top hole (nearest to the end). It needs to be deep enough to make certain that the square nut and washer are countersunk. The reason for this is that this is where the top bow bracket meets the side brackets.
The horizontal side boards are secured to the vertical posts with a ¼” x 2” carriage bolt through a side board and the top hole of the vertical post and a 2-1/2” carriage both through a side board and the bottom hole of the vertical post. Each of these bolts is secured with a ½” OD washer with a 5/16” hole (Same as above). While Bantam used 2-1/2” carriage bolts in this step, you would have less chance for skinned body parts if you used 2-1/4” carriage bolts. I’m just giving you what Bantam used.