
Bantam T3-C Tail Lamps & Reflectors
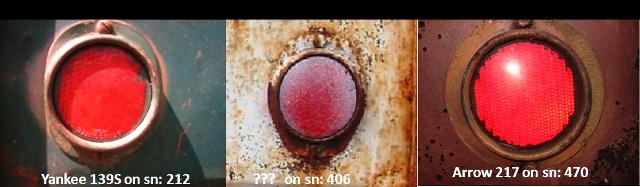
Bantam used The Arrow Safety Company tail lamp on the T3-C utility trailer. I have a theory that a second model Arrow lamp was used some time in later production of the T3-C trailer and solicit photos and serial numbers to determine an approximate range when this change occurred. I'm also seeking a photo of the two prong vehicle connectors used on the trailer.
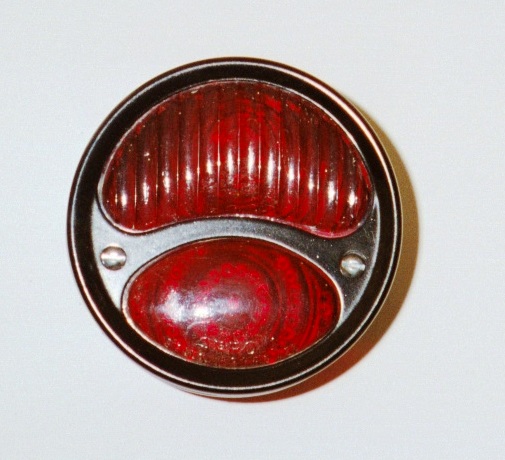
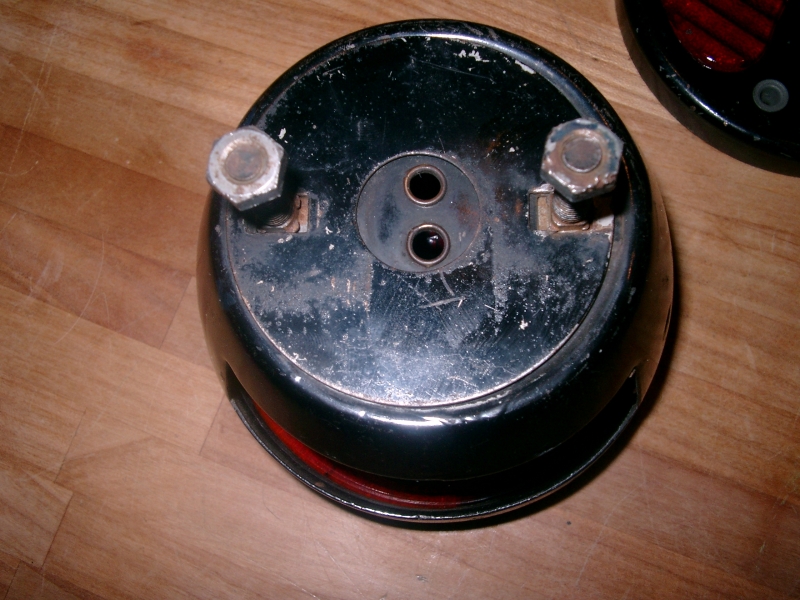
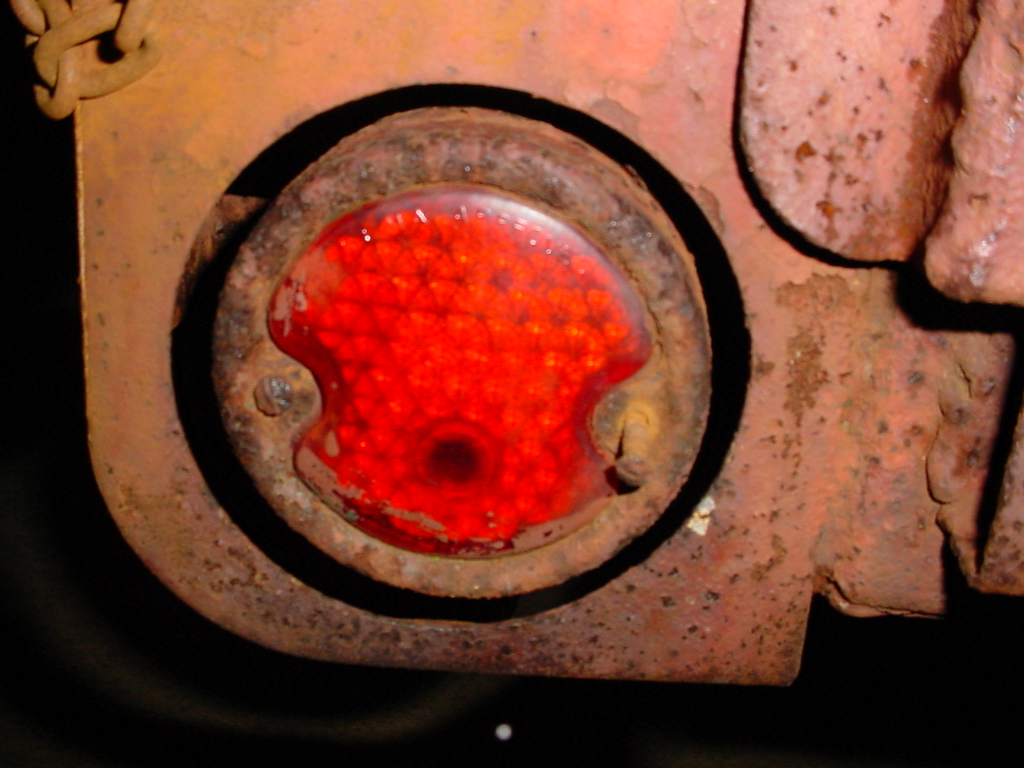
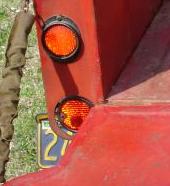
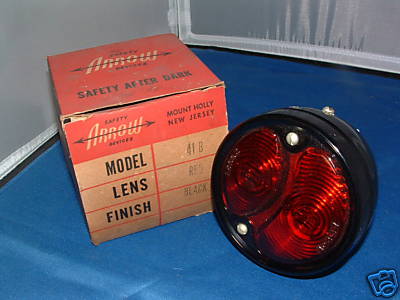
These are the most commonly seen and highly sought after Arrow Model 41 tail lamps used on the Bantam T3-C trailer
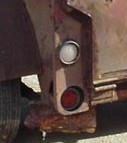
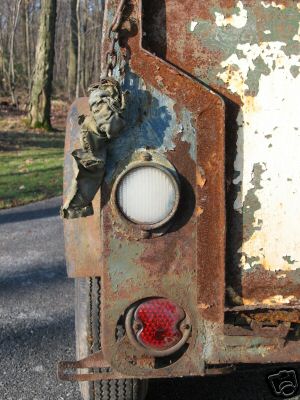
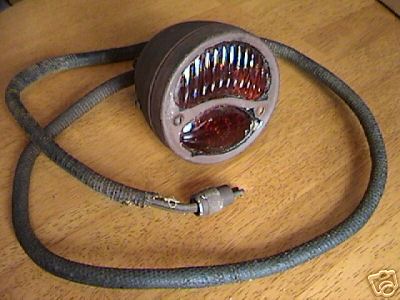
This is the Arrow 7341 lamp lens that I suspect as a replacement some time during production and seen as early as sn 19918.
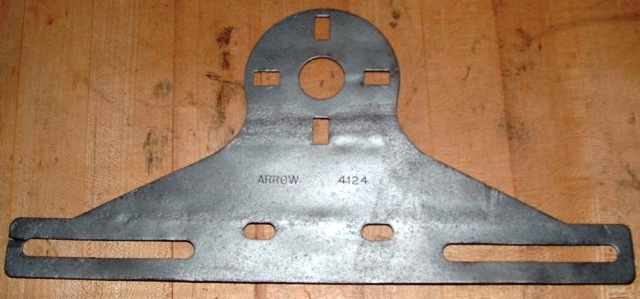
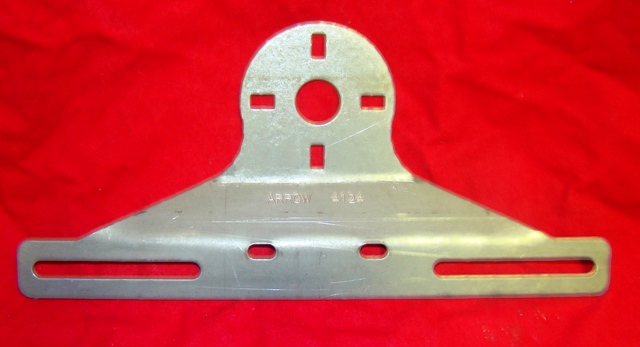
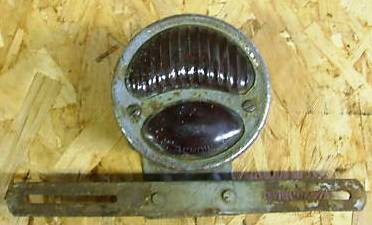
This is an Arrow 4124 license plate bracket from sn 1291. I have used this for a pattern and reproduced the License Plate Bracket click here
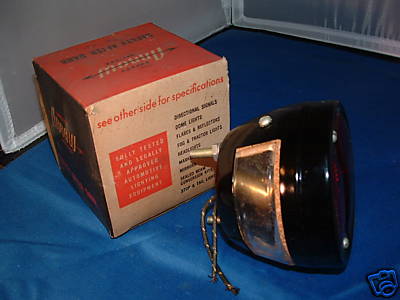
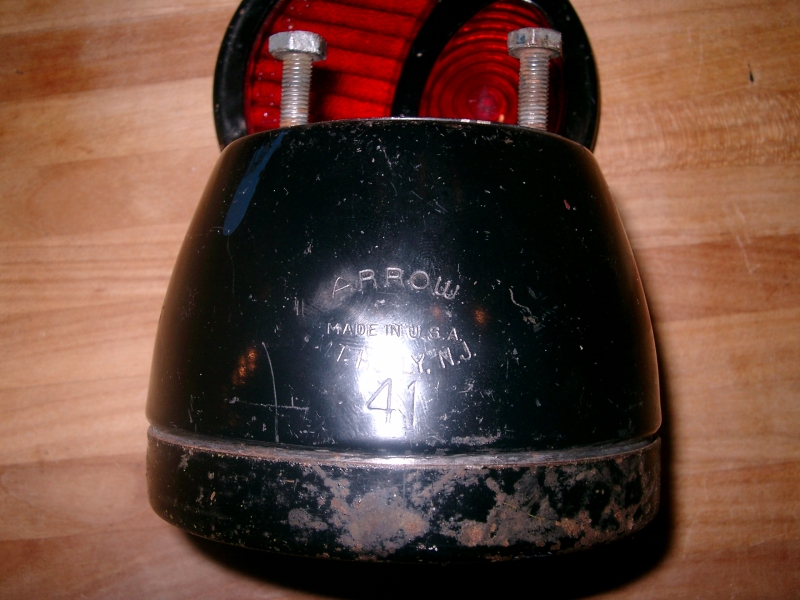
This is an NOS Arrow lamp as seen on eBay but of a different style lens.
(there is no evidence of its use on the T3-C but thought it was of interest. Upon finding Rogers image above of the model number stamped on the top and reading the model on the box I would guess that the housing is probably the same one)
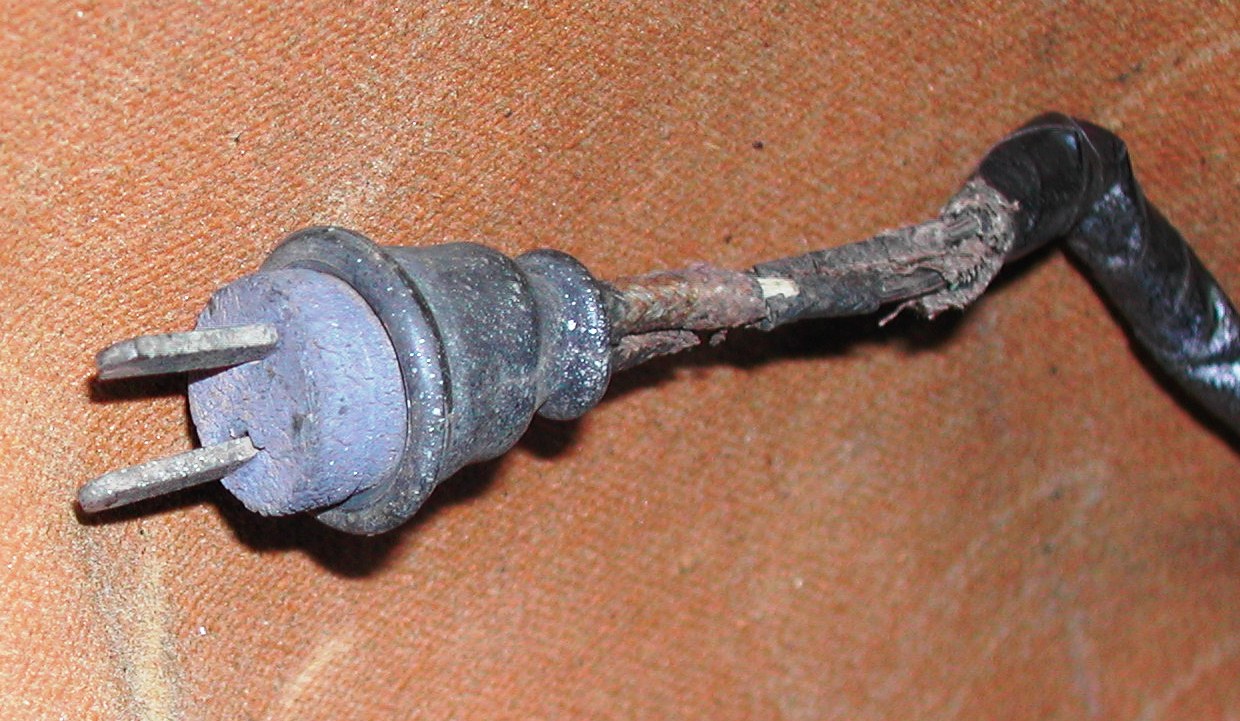
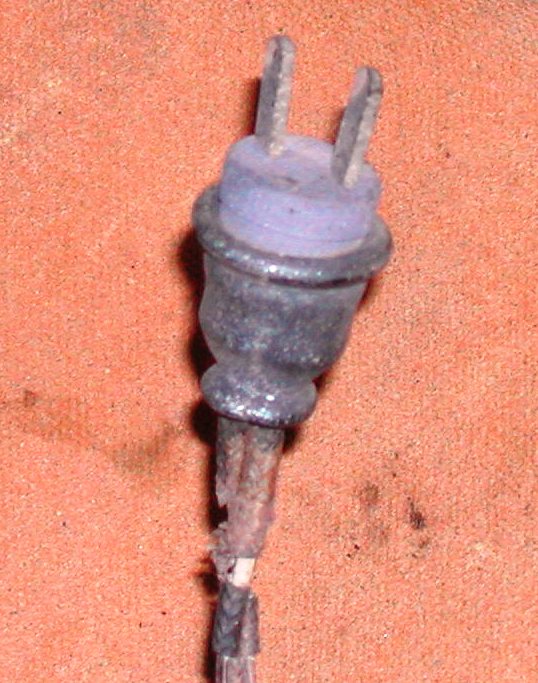
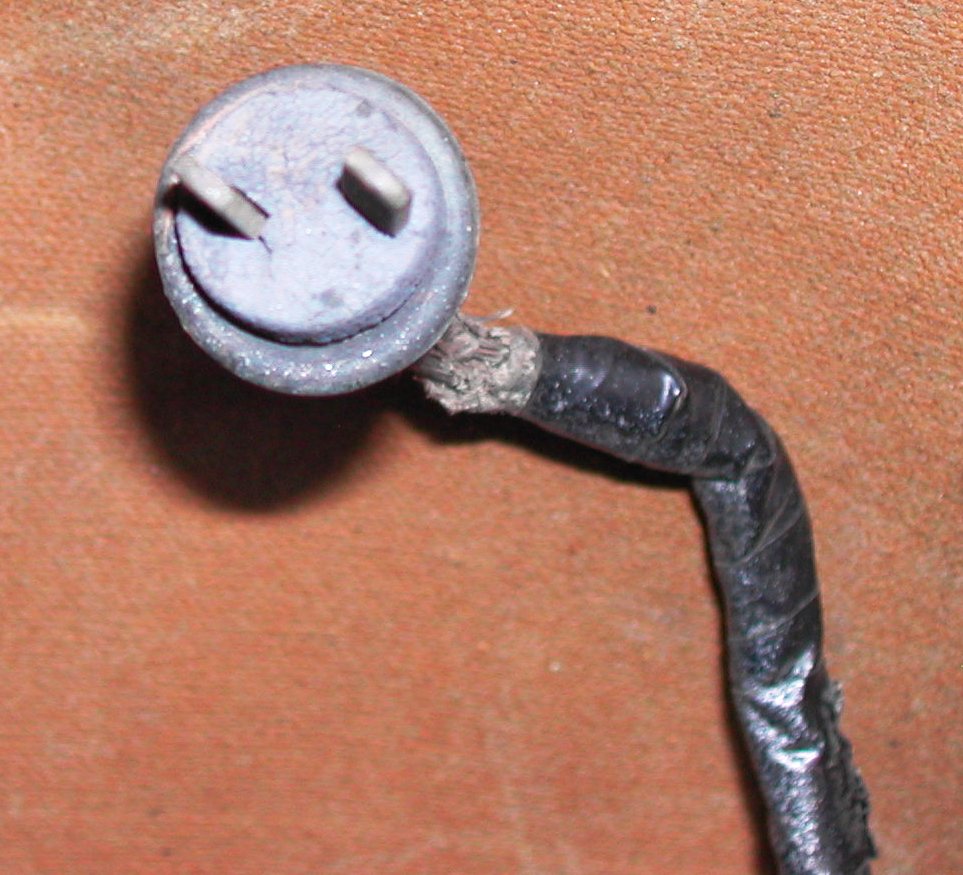
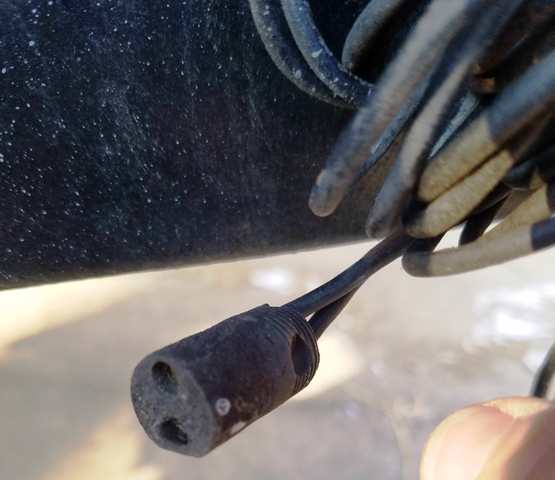
Original Trailer to Vehicle Plug???
Dave Danmeier of California sent me these pictures of the trailer plug on his trailer...does anyone else have one of these or seen it before?
(I left the pics at full size for detail)
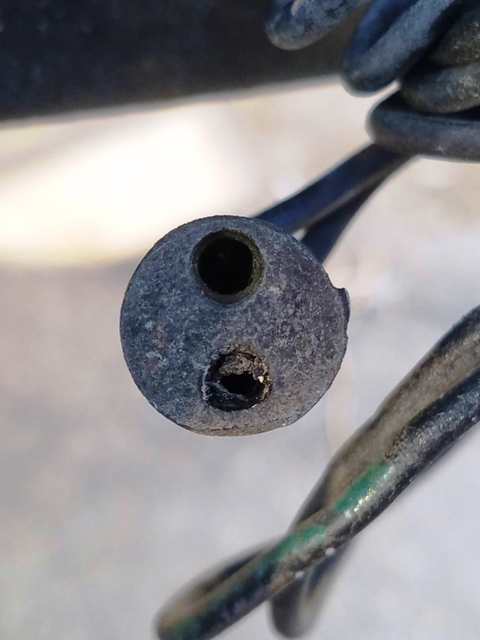
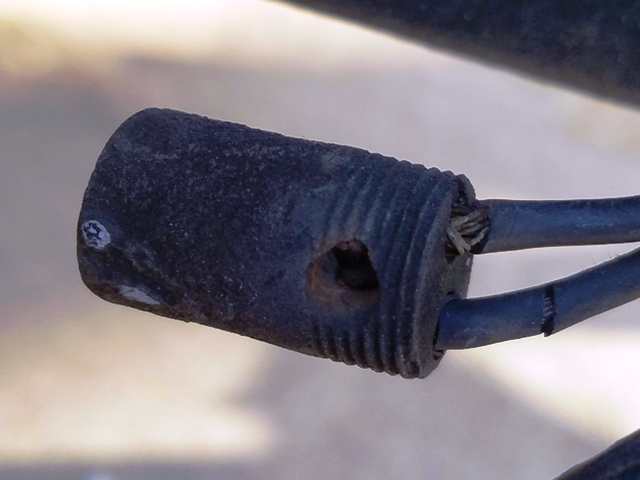
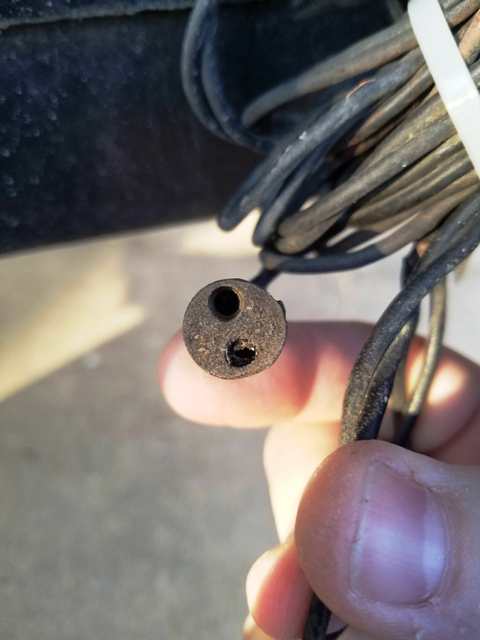
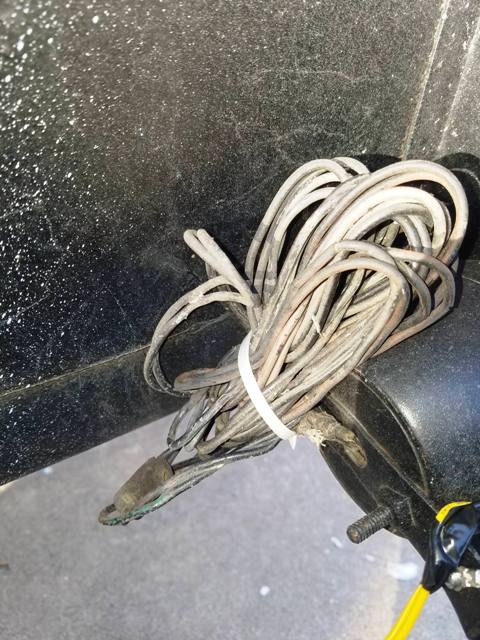
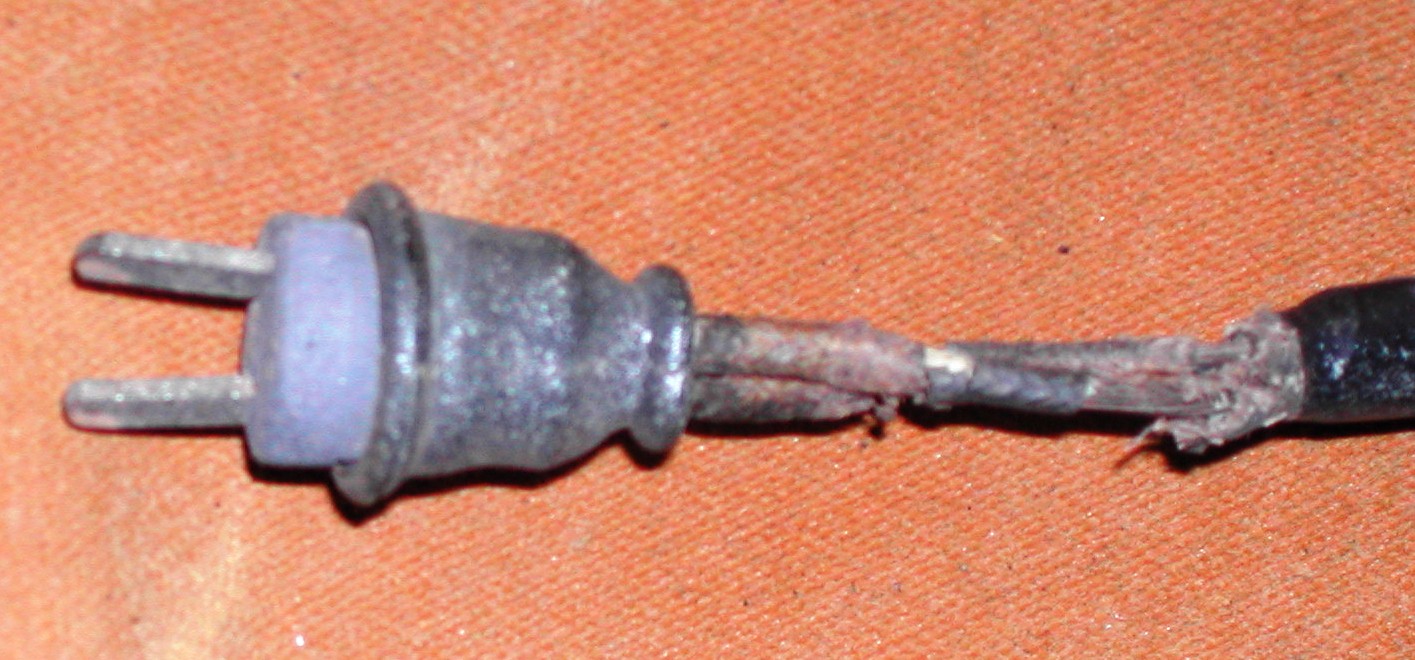
Kevin Keaton of Arkansas with an unknown serial number sent me these pictures of his trailer plug
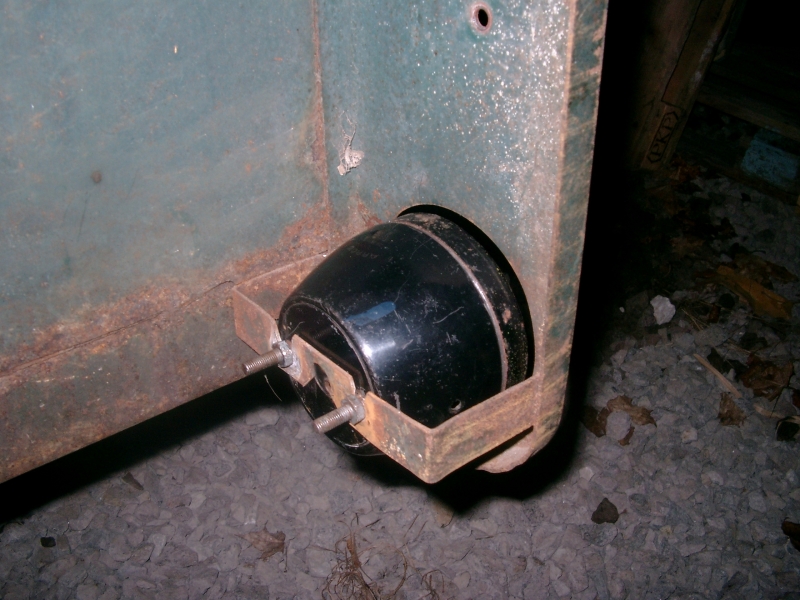
Bantam T3-C Tail Lamp Mounting Bracket
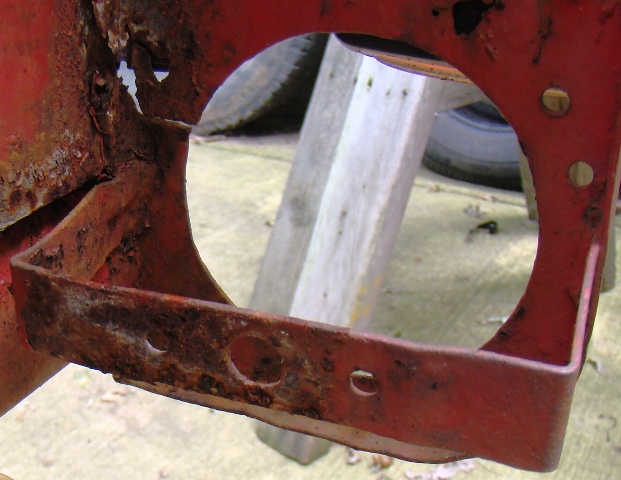
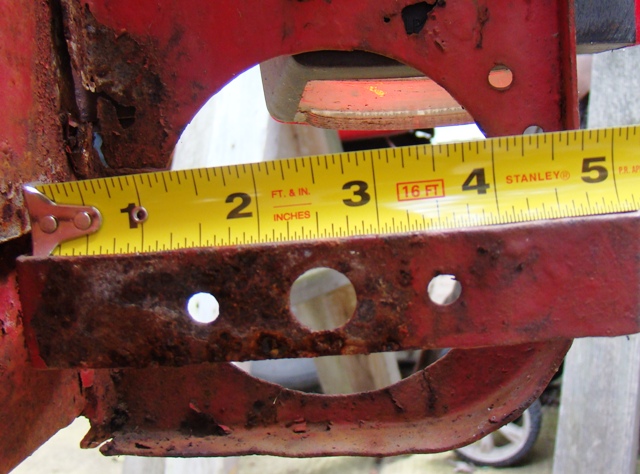
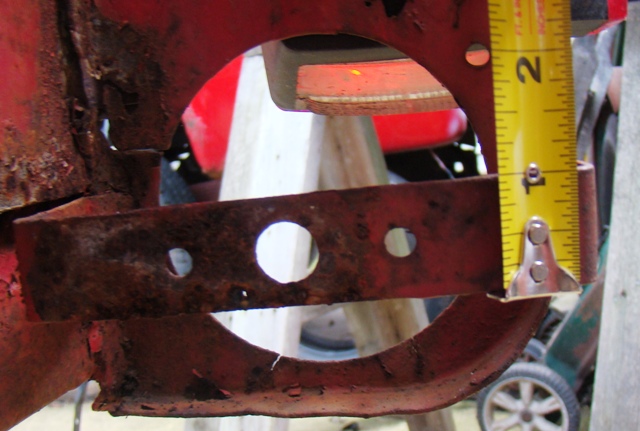
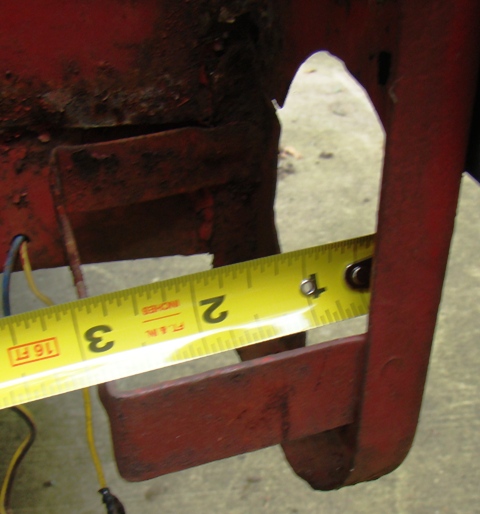
Dimensions of the tail lamp bracket are as follows:
1 inch wide flat stock
2 3/4" inside dimensions
bent to fit the 5 5/16" dimensions between the rear panel bends
holes are 17/64" drill bit and between 1/2"- 9/16" for the center hole, drilled at 1 1/2" 2 1/2" and 3 1/2" on center
Arrow Bulb Socket Bakelite Board Replacement
A Bantam T3-C Owner recently posted on the Forum that he had a broken Bakelite Board in his tail lamp socket.
I looked at one of my Parts Tail Lamps and noticed mine too was broken.
So the remedy this repair I grabbed an old circuit card that I was going to scrap for precious metals and sought out to see if I could make a new board out of the circuit card material.
I traced the bakelite board onto the circuit card with a sharpie then proceeded to crudely cut the traced shape out with a Dremel Tool and a Bench Grinder for touch ups.
This was my first attempt and actual fits pretty good with a little fine tuning on the Bench Grinder.